Scanning a paper to email might seem like a daunting task, but it’s simpler than you think. Whether it’s an important document, a handwritten note, or a printed photo, digitizing and sending it via email can save time and keep things organized. With the right tools and a few easy steps, anyone can master this process.
From using a traditional scanner to leveraging modern apps on your smartphone, there are multiple ways to get the job done. Understanding the basics ensures your document is clear, properly formatted, and ready to send. This guide will walk you through the essentials so you can confidently scan and email any paper document in no time.
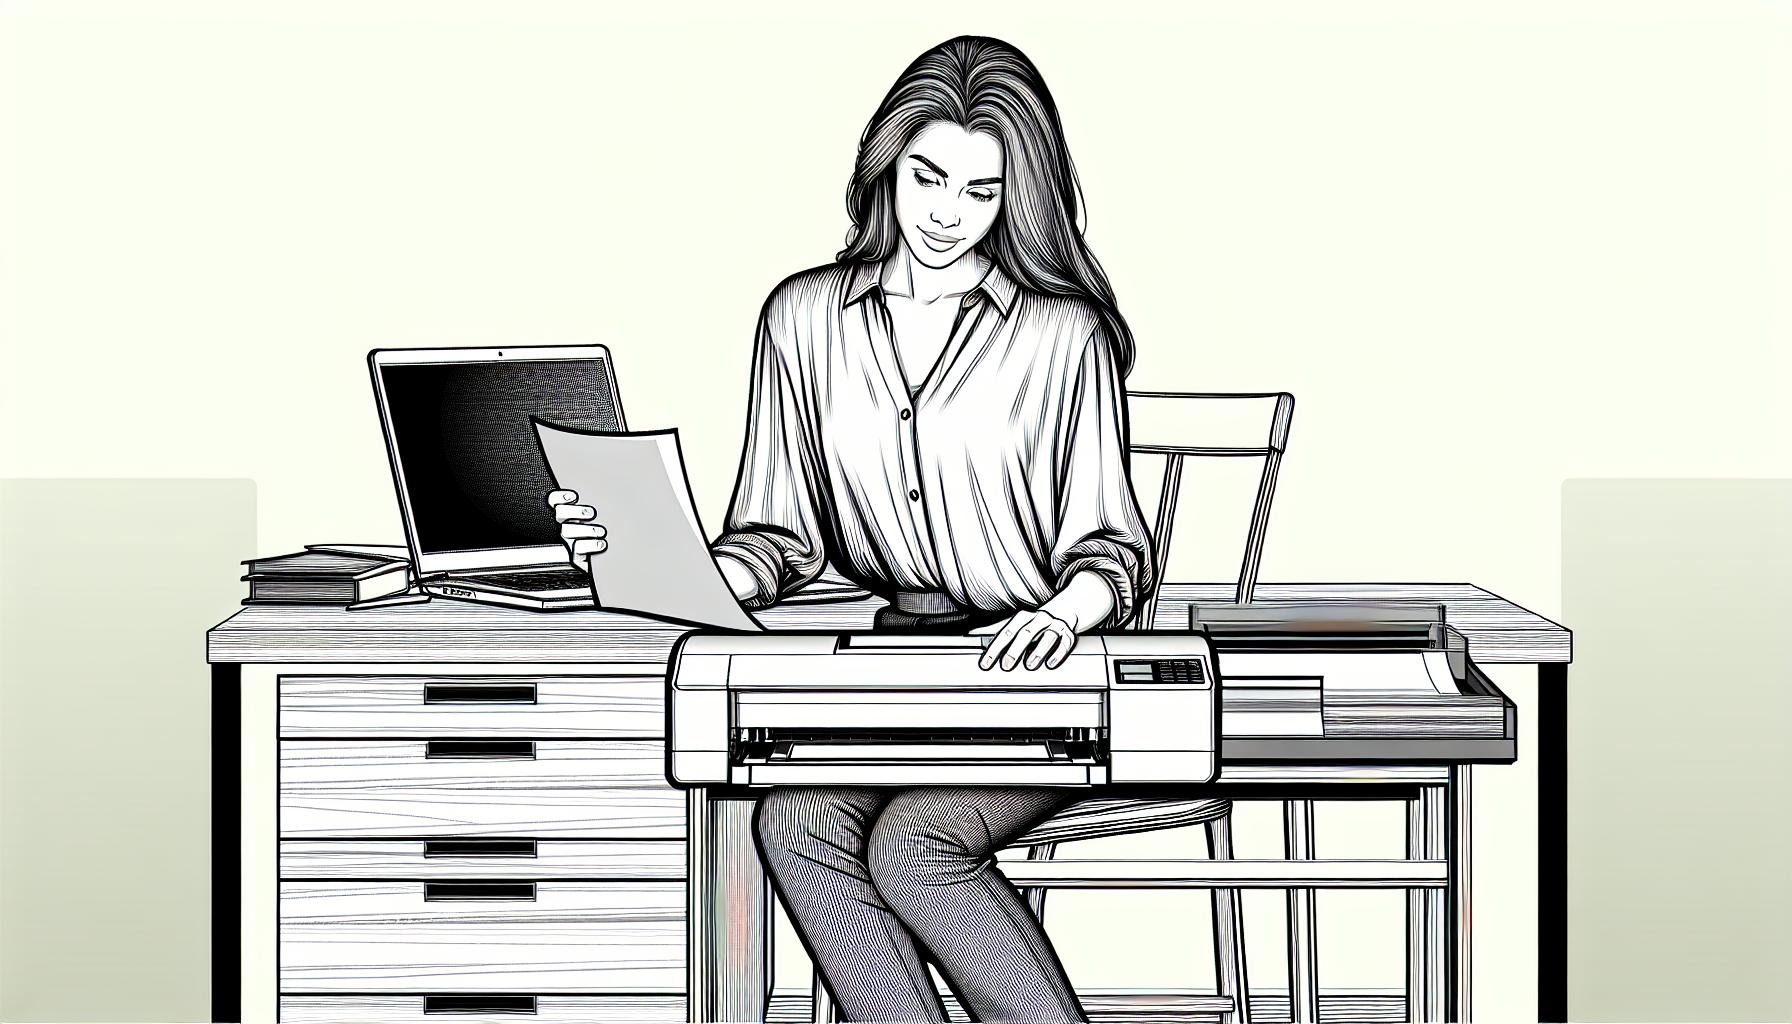
Understanding The Basics Of Scanning To Email
Scanning to email makes it possible to transfer physical documents digitally with ease. The process involves converting a paper document into an electronic file through a scanner, then attaching and sending the file via email. Users accomplish this with traditional scanners, all-in-one printers, or mobile apps.
Scanners capture an image of the document, usually in formats like PDF or JPEG. This ensures compatibility with most email clients. Settings like resolution and color mode can improve legibility, especially for text-heavy documents or colored images.
An email address must be ready for sending the scanned file. File management is critical to maintaining organized digital copies. Storing the file in an easily accessible folder simplifies the process when attaching it to an email.
Devices offer varying methods for emailing scanned files. Some scanners provide direct “Scan-to-Email” options, while others require users to save the file first. Mobile scanning apps often integrate directly with email apps for quick sending.
Choosing The Right Equipment And Software
Selecting appropriate tools ensures accurate scans and efficient emailing. The combination of reliable scanners and user-friendly software plays a key role in achieving this goal.
Types Of Scanners
Flatbed scanners provide high-quality scans and are suitable for documents, photos, and books. These work well for tasks requiring precise detail.
Sheet-fed scanners process multiple pages quickly, making them ideal for offices handling large volumes.
Portable scanners, like handheld models, offer convenience for scanning on the go but may sacrifice some quality compared to larger options.
All-in-one printers often include built-in scanning capabilities. These are practical for home use, combining printing, scanning, and copying functions in one device.
Recommended Scanning Software
Adobe Scan simplifies scanning with tools to create PDFs and organize pages. It’s compatible with smartphones for mobile use.
NAPS2 (Not Another PDF Scanner 2) provides a free tool for managing file formats and adjusting scanning settings, including resolution.
Epson Scan delivers advanced options like color restoration and multiple document detection. It’s optimized for Epson hardware.
Software integrated with hardware, such as HP Smart or Canon IJ Scan Utility, streamlines scanning and emailing by syncing with matched devices.
Step-By-Step Guide On How To Scan A Paper To Email
Scanning a paper to email involves a few key steps. Following this guide ensures clear, professional results while saving time.
Preparing Your Document For Scanning
Place the document flat on a clean, smooth surface. Remove staples, folds, or creases to ensure an even scan. For old or delicate paper, handle with care to avoid damage.
Setting Up Your Scanner
Plug in the scanner and turn it on. Install necessary drivers or software on your computer, following the manufacturer’s instructions. Configure basic settings such as resolution (300 dpi for most documents) and color mode (black and white for text, color for images).
Scanning And Saving The Document
Position the document face down on the scanner glass, aligning it with the guide marks. Select the “Scan” option through the scanner’s software, choosing the preferred format (PDF for multipage documents, JPEG for images). Save the scanned file to an easily accessible folder, naming it clearly for quick identification.
Troubleshooting Common Issues
Scanning paper to email might sometimes involve challenges. Below are practical solutions for common problems encountered during the process.
Scanner Connectivity Problems
Scanner not responding frequently arises from hardware or software misconfigurations. Ensure the scanner is powered on and connected via the correct interface (USB, Wi-Fi, or Ethernet). For USB, verify the cable is securely plugged in and undamaged. For Wi-Fi, check that the scanner is connected to the correct network and IP settings are accurate. Reinstall or update scanner drivers if errors persist, as outdated drivers can cause malfunctions.
If the scanning application doesn’t detect the device, restart both the scanner and the computer or smartphone being used. Compatibility issues might also occur on older operating systems, requiring updated software or firmware.
Poor Scan Quality
Blurry or discolored scans often result from improper settings or physical obstructions. Adjust the resolution to at least 300 DPI for clearer text and images, and select an appropriate color mode (black-and-white for text, color for photos). Clean the scanner glass and ensure it’s free of dust, smudges, or scratches that distort the image.
For documents with faint text or uneven lighting, utilize contrast adjustments within the scanning software. Wrinkled or folded papers should be flattened before scanning, as creases can create shadows and distortions. If issues persist, test another document to determine if the problem is with the scanner sensors.
File Attachment Errors
Larger file sizes hinder attachment in email services with size limits (e.g., most allow up to 25 MB). Compress oversized files using PDF compression tools or image editing software. Avoid attaching unsupported file formats; convert the scan to commonly accepted formats like PDF or JPEG.
Occasionally, file attachment problems stem from email client settings. Ensure you’re logged into a valid email account, and check outgoing server configurations if the email fails to send. Some services block attachments for security reasons, especially executable files, so verify the scanned file type is safe to attach.
Tips For Efficient Scanning And Emailing
- Organize documents before scanning. Arrange papers in order and smooth out creases to avoid scanning errors. Ensure staples, paper clips, or any obstructions are removed.
- Choose the right resolution. Set the resolution to 300 DPI for standard text documents and 600 DPI for images. Higher resolutions enhance clarity but result in larger file sizes.
- Select the correct file format. Save scans in PDF for multi-page documents or JPEG for single images. PDF provides easy sharing and universal compatibility with most devices and email applications.
- Keep file sizes small. Compress large files to ensure smooth emailing. Most email services have a size limit, often between 20-25 MB, so optimizing the scan size is crucial for successful attachments.
- Use clear file names. Name scanned files descriptively, such as “Invoice-January-2023” or “Employee-Contract”. This ensures easy retrieval and identification.
- Clean scanner regularly. Wipe scanner glass with a soft, lint-free cloth to prevent streaks or dust marks on scans. Regular maintenance improves overall quality and prevents repeated scans.
- Test email settings beforehand. Ensure the configured email address and outgoing server settings are functioning. Sending a test email with small attachments can confirm compatibility.
- Check the final document. Review the scanned file for legibility and alignment before sending. Re-scan if any pages are unreadable or misaligned.
Conclusion
Scanning a paper to email is a straightforward process when equipped with the right tools and knowledge. By following the outlined steps and tips, anyone can efficiently digitize and share documents while maintaining clarity and organization. Whether using a traditional scanner or a mobile app, the key lies in proper preparation, attention to detail, and selecting the best settings for the task. With consistent practice and a focus on quality, sending professional and legible scanned documents via email becomes a seamless part of any workflow.
Frequently Asked Questions
What does “scanning to email” mean?
Scanning to email involves converting a paper document into a digital file using a scanner or scanning app. The digital file, usually in PDF or JPEG format, is then attached to an email and sent electronically.
What equipment do I need to scan documents to email?
You’ll need either a scanner (e.g., flatbed, sheet-fed, or all-in-one printer) or a smartphone with a scanning app. Additionally, you’ll require a computer, tablet, or smartphone to access your email account and send the file.
What is the best file type for scanned documents?
For text-heavy documents, PDF is the best choice as it retains formatting and supports multi-page files. For single photos or images, JPEG is commonly used due to its compatibility and small file size.
What scanner resolution should I use for clear scans?
Use 300 DPI for documents with text to ensure clarity. For photos or detailed images, select a higher resolution, such as 600 DPI, for better quality results.
How can I reduce the file size of scanned documents?
Lower the scan resolution to 150-200 DPI for general use, save the file in a compressed PDF or JPEG format, or use third-party software to compress the file after scanning.
What should I do if the scanner isn’t working?
Ensure the scanner is powered on and properly connected to your computer or device. Check for driver updates and restart the equipment if needed. Clean the scanner glass to avoid errors caused by dirt or smudges.
How do I email a scanned document?
After scanning the document, save it to a known location on your device with a clear file name. Open your email client, compose a new email, attach the file, and send it to the intended recipient.
Can I scan documents to email using my smartphone?
Yes, you can use mobile scanning apps like Adobe Scan, CamScanner, or Microsoft Lens to convert documents into digital files. These apps often feature direct email integration for added convenience.
How do I name files for easier organization?
Use clear, descriptive names that include relevant details, such as the document type and date (e.g., “Invoice_2023-10-01.pdf”). Avoid generic names like “scan1.pdf” to improve file management.
What can I do if the emailed file is too large?
Compress the file using software or online tools, reduce the scan resolution, or split the content into multiple scans and send them as separate emails to meet email attachment size limits.
What software is recommended for scanning and emailing?
Popular software includes Adobe Scan for mobile scanning, NAPS2 for file management, and Epson Scan for detailed options. Many scanners also come with integrated software tailored to their functions.
Why isn’t my scanned document clear?
Ensure the document is placed flat, and adjust the scanner’s resolution or color settings if needed. Clean the scanner glass and avoid scanning creased or folded papers for better clarity.
What is the difference between flatbed and sheet-fed scanners?
Flatbed scanners are ideal for high-quality, single-page scans, including photos. Sheet-fed scanners are better suited for scanning multiple pages quickly in one session.
How do I ensure my document is properly aligned before scanning?
Place the document flat and align it with the scanner’s guidelines. Check the preview option (if available) to confirm alignment before completing the scan.
Are scanning apps free to use?
Many scanning apps, such as Adobe Scan, offer free basic versions. However, advanced features like OCR (optical character recognition) or cloud storage may require a subscription or one-time purchase.
How often should I clean my scanner?
Clean your scanner glass regularly, at least once a month, or more frequently if you notice streaks or smudges on scanned documents. Use a soft, lint-free cloth for gentle cleaning.
What settings ensure email-compatibility for scanned documents?
Use a compatible file format like PDF or JPEG, keep the resolution between 150-300 DPI to ensure readable quality, and compress the file size to meet your email provider’s attachment limit.
Leave a Reply